Diagnose whether the distortion is in the file or playback
First determine where the logo becomes distorted. If it already looks too wide in the exported graphic, the design needs correction. If the file looks correct but the displayed result does not, the playback or mapping settings may be changing its proportions. These are different problems with different owners.
Ask the designer and AV team to compare the source artwork, final export and displayed image. A familiar circle or square in a temporary test graphic can help reveal unequal scaling. The production team should manage the test through the intended playback path.
Get usable source artwork before building the composition
Request the approved vector logo when available, plus brand guidance covering clear space, colors and acceptable backgrounds. Vector artwork can be resized cleanly during design, although the final playback asset still needs the format and dimensions specified by the AV team.
If only a raster image is available, ask for the highest-quality original rather than enlarging a screenshot. Do not redraw, crop or rearrange the mark to make it fit without brand approval. A simplified approved logo variation may work better than forcing a detailed lockup into an unsuitable shape.
Distinguish the full canvas from its visible regions
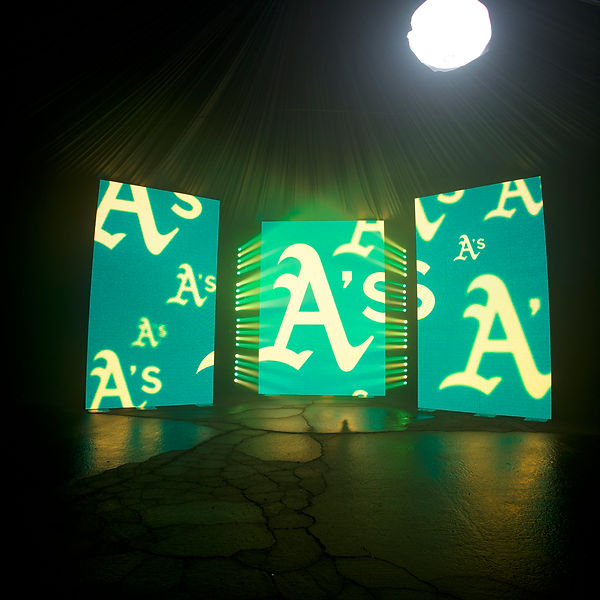
Request the mapped content canvas, not just a description such as wide wall or vertical columns. A playback file may contain regions that do not appear on a physical LED surface. Separated sections can also make a continuous image look interrupted even when the file itself is correctly proportioned.
In a hypothetical Mesa conference design, a wide canvas might feed several separated LED areas. Centering a logo across the entire file could place part of the mark in a gap. The designer needs a labeled map showing visible regions and intended content boundaries before positioning essential artwork.
Choose deliberate space instead of filling every edge
Fit the complete logo proportionally inside a suitable region. Depending on the canvas, this may leave space above and below or on either side. Letterboxing and side margins are not inherently mistakes; they are often the correct result of preserving the artwork.
The surrounding space can use an approved background color or restrained graphic treatment. It does not have to remain black. Keep that treatment separate from the logo so the background can fill the canvas without stretching the mark.
Cropping may be acceptable for abstract background imagery, but it is usually a poor default for a logo. Ask explicitly whether the priority is showing the entire mark or filling the display. For protected brand artwork, the complete, undistorted mark should guide the composition unless an approved alternative exists.
Lock the handoff after an end-to-end test
Approve the final exported file through the intended playback and mapping setup. Check the logo's proportions, clear space and placement on every relevant visible region. A correct design preview alone cannot confirm that downstream scaling will preserve the result.
Record the approved file version and intended fitting behavior so a replacement operator does not select a fill setting to remove intentional margins. Exact LED shapes, processing and playback configurations require a quote and production confirmation.
- Collect approved original logo artwork.
- Confirm canvas dimensions and visible-region mapping.
- Preserve proportions and required clear space.
- Approve intentional margins or background fill.
- Test the final export through the playback path.
Put the plan into practice
The wall's shape should influence the composition, not deform the logo. Accurate mapping, proportional fitting and intentional surrounding space turn a custom canvas into a controlled design rather than a resizing compromise.
LED video wall rental and production